
You are among the last defenders of the fallen crown. Withstand an onslaught of invaders to restore peace to the realm.
You can buy Crownfell: Last Stand on The Game Crafter
The more people that get it, the lower the price goes for everyone!
How-to-play video
Setup
- Place the crown card in the middle of the table, as with the two-player game.
- For your first game or two, we recommend starting with one of these two “starter teams”. Flip them all to the black side, and skip step 3, below.
- Starter team A: Angel, Beacon, Guardian, Stag
- Starter team B: Harbinger, Monarch, Pyro, Vampire
- Organize the character cards so that all the black sides are facing the same way. Shuffle them and deal four to your hand. These are your starting characters.
- Looking for more of a challenge? To play hard mode, deal three cards to yourself and 14 to the enemy.
- To give yourself some more choice over your team and simulate a draft like the two-player game, try the draft rules to select your cards.
- Flip the deck to the white side and rotate it so that it’s facing away from you. This is the enemy deck. Draw three cards and place them in the leftmost three spaces of the enemy home row.
- Place the enemy deck above the fourth column of the enemy home row.
- Shuffle the solo deck with the action side face-up, and place it to one side.
Turn sequence
The enemy goes first.
Enemy turn
- Enemy actions. One at a time, each white card takes an action, in the following order: starting with the row closest to you, then left-to-right. Then the next row farther from you, and so on. Note: This is the same order as the notation grid: A1 to A5, then B1 to B5, etc.
- Deploy a card. Take the top card of the enemy deck and place it in the enemy home row, in the same column as the position of the enemy deck. If there is already a card in that space, place the deployed card in the first open space to the right, wrapping around to the leftmost column, if necessary. Move the enemy deck one space to the right of the column you deployed to.
Enemy actions
For each white card in play, follow these steps:
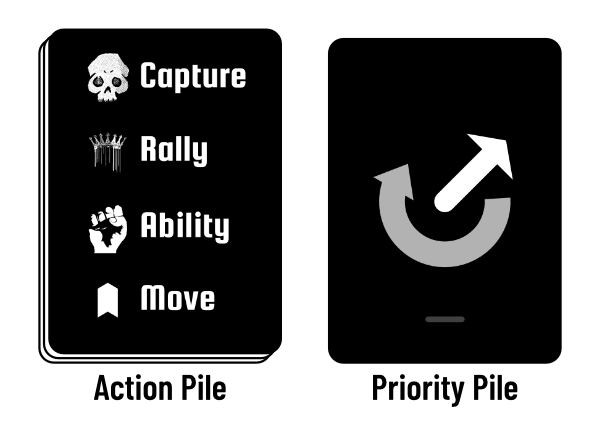
- Flip the top card of the solo deck and place it to the right, forming the priority pile (showing the arrow). The top card of the action pile combines with the top card of the priority pile to determine how the current white card will behave.
Note: the line under the priority arrow indicates the bottom of the card; it should face you. - The white card will perform the topmost action from the action card that it is possible for it to perform. For example: If it is not possible for the the white card to capture from its current position, move down the list to see if it can rally, and so on.
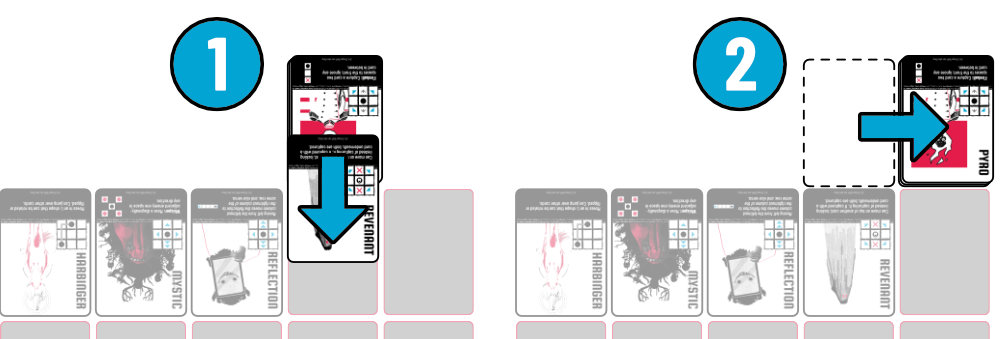
- For any action that has multiple available options — for example, it could potentially capture more than one card, or it has open moves in more than one direction — use the priority arrow to determine which direction it should move (except as noted below for protection and locks). The arrow has a primary direction, in which it looks for a target space or card. If it can’t find one, it rotates in the direction indicated until it does. This is used for any action or ability that requires a decision about which direction to take. Imagine a line that starts from the centre of the active character card, goes out from there, then rotates until it intersects with the centre of a target card or space.
Resolve the action for the current white card, then proceed to the next one, flipping a new solo card for each.
Note: Some white cards may have appeared or moved during the enemy turn — re-evaluate which card goes next based on its board position, every time a white card finishes its action for the turn. Each white card only performs one action each turn. It can help to tilt them after their action is complete, then straighten them all at the end of the enemy turn.
When the action pile is empty, flip all the solo cards and form a new action pile — do not shuffle. After all white cards have acted, perform the Deploy a Card step, then the enemy turn ends.
To help remember the deploy step of the enemy turn, think of the deck as being in the sixth row of the grid; it “performs an action” last, after all enemy cards have acted.
Rules for enemy actions
Capture
A white card will perform a capture action if it can legally move to a space with a black card. Move the card into the space and discard the black card. If the white card has a ranged capture icon, it will prioritize moving to a position that allows it to use the ranged capture.
Rally
A white card will perform a rally action if it can legally move to the crown space. After moving there, deploy the next card from the enemy deck — moving the deck to the right one space, as with a normal deploy action. If the enemy home row is full, ignore the Rally action and select the next action down the list on the solo card. Note: Newly-deployed enemy cards are ready to act on the turn they entered play.
Final desperation: If there are no cards left in the enemy deck when a rally action is taken, use the priority arrow to target another white card (or itself if there are no other white cards left); that card makes a single passive move; use the same priority arrow again to determine the direction of its movement.
Ability
A white card will only use the Ability action if it can legally use its ability from its current position. If it can’t, or it doesn’t have a named ability (with a bold title), ignore this action and move down the list to the next one.
Move
A white card will always move as far as it can; if it has two arrows in the indicated direction, it will move two spaces. If it has no legal moves, ignore this action and move down the list to the next one.
If a move happens to land a white card on the Crown space, they still rally. If a move happens to land a white card on a black card, that card is captured.
If a white card has multiple available moves, it will prioritize moving into a space where it will not be locked ![]() by a player card.
by a player card.
Protection
If a white card has one or more protect icons ![]() and it gets a move action, or is moved by another card, it will use its move to protect as many white cards as possible. If it can legally move to another spot where it protects as many white cards as it is currently protecting — or more — it will do so.
and it gets a move action, or is moved by another card, it will use its move to protect as many white cards as possible. If it can legally move to another spot where it protects as many white cards as it is currently protecting — or more — it will do so.
Additionally, if a white card is currently being protected and it gets a move action, ignore the move action unless it can legally move to another protected space.
Locks
If a white card has a lock icon ![]() and it gets a move action, it will use its move to lock a black card if possible. If it is already locking a black card when it gets a move action, it will skip its action for this turn unless it can legally move to another space where it locks as many or more black cards.
and it gets a move action, it will use its move to lock a black card if possible. If it is already locking a black card when it gets a move action, it will skip its action for this turn unless it can legally move to another space where it locks as many or more black cards.
If a white card is locked by a player card, the enemy will prioritize using abilities and actions to unlock that card. For example: during final desperation, locked white cards will be prioritized for the passive move. The Duke and the Minstrel will also prioritize using their abilities to move locked white cards.
Player turn
- You may take up to two actions per turn. You may use the same character twice.
- You may not use the revive rally action. This is truly your last stand!
Game end
The game ends if either side has:
- all of their cards removed from the board, OR
- no legal moves.
Your score is equal to the number of cards you captured plus any enemy cards on the board that are locked — capture or lock all white cards to win.
Alternate setup: draft
Instead of dealing yourself 4 random cards, follow these steps to simulate the draft from the 2-player game:
- Shuffle the deck and deal 8 cards in a square around the crown space.
- Pick a card you want to keep.
- Draw a solo card and place it arrow-side-up on the crown space. Put the card it points to back in the deck. If it points to an empty space, follow the rotation of the secondary arrow until you get to a card.
- Repeat steps 2 and 3 until there are no cards left.
- Shuffle all the enemy cards together and continue with setup normally.
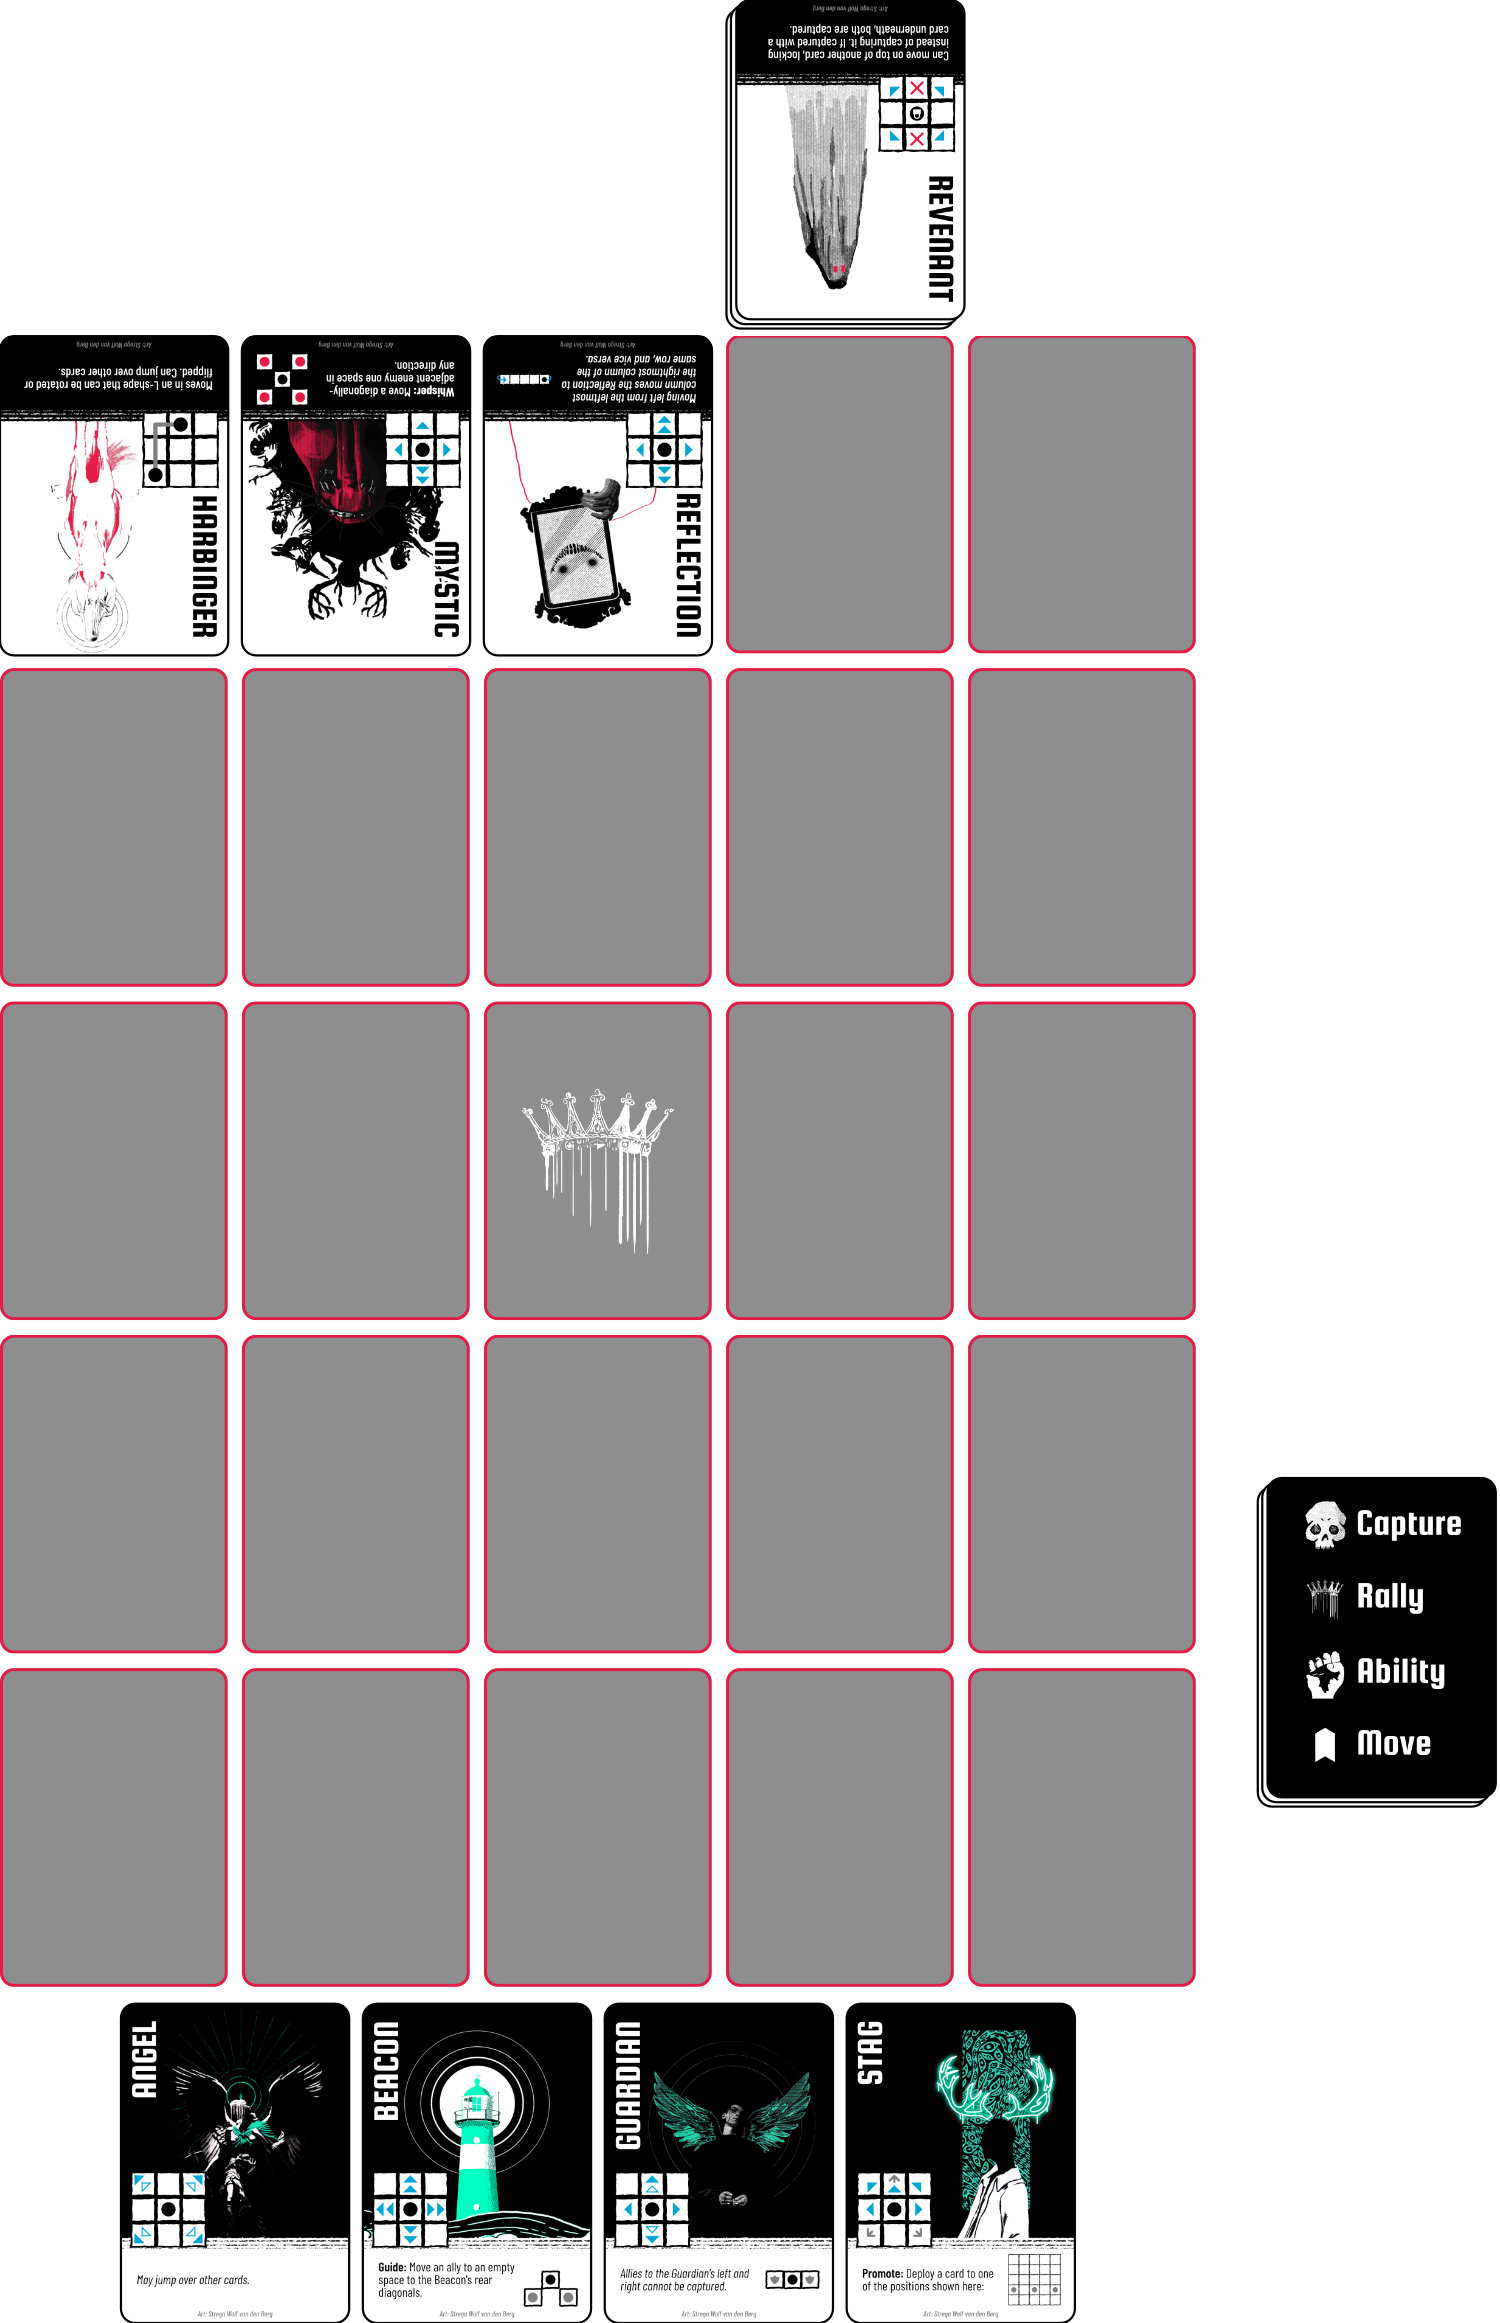
Card glossary
Angel
Assassin
Beacon
When using the Beacon’s Guide ability, use the priority arrow to determine which of the two rear diagonals it targets, then separately use the priority arrow again to determine which ally it targets.
Duke
When using the Duke’s Command ability, use the priority arrow to determine which adjacent ally it targets, then separately use the priority arrow again to determine which direction that card moves.
Guardian
Harbinger
Labyrinth
Martyr
When the Martyr’s Sacrifice ability is used, flip the Martyr before adding it to the discard pile. For example, when you use the Martyr’s ability, it flips to the white side and counts as a point at the end of the game. When the enemy uses it, the Martyr does not count as a point for you.
Minstrel
If the Minstrel uses the Inspire ability, and there is an ally who can capture by moving one space forward, if will prioritize moving that ally. If there is more than one ally that can capture, use the priority arrow to determine which.
If the Minstrel moves another card using its Inspire ability, and that changes the enemy turn order, the moved card takes its action in the new turn order. Note that each card only performs one action per enemy turn; if the moved card already performed its action this turn, it does not get another turn.
Monarch
When using the Monarch’s Honour Guard ability, use the priority arrow to determine which of the two rear diagonals it targets, then perform a normal deploy action (moving the enemy deck as usual).
Mystic
When using the Mystic’s Whisper ability, use the priority arrow to determine which diagonally-adjacent player card it targets, then separately use the priority arrow again to determine direction the card moves.
Pyro
The Pyro will prioritize moving into a position where its Fireball ability threatens a player card, if it can. Otherwise, use the priority arrow to determine movement as usual.
If the Pyro gets a capture action, it will prioritize using its Fireball ability if possible, then check for a capturing move.
Reflection
Revenant
The Revenant will not move on top of another white card unless it allows for a capture from that space. On its next turn, it will prioritize moving away unless it can capture again from there. After it moves away, the card it was covering will immediately perform its action as usual.
If the Revenant gets a move OR capture action and it’s possible for it to move onto a player card, it will prioritize doing so. It will only move away from a space where it’s locking a player card if it gets a capture action and can capture a different player card.
Stag
When using the Stag’s Promote ability, use the priority arrow to determine which of the three locations is used. Move the enemy deck one space to the right, as with a standard deploy action.